
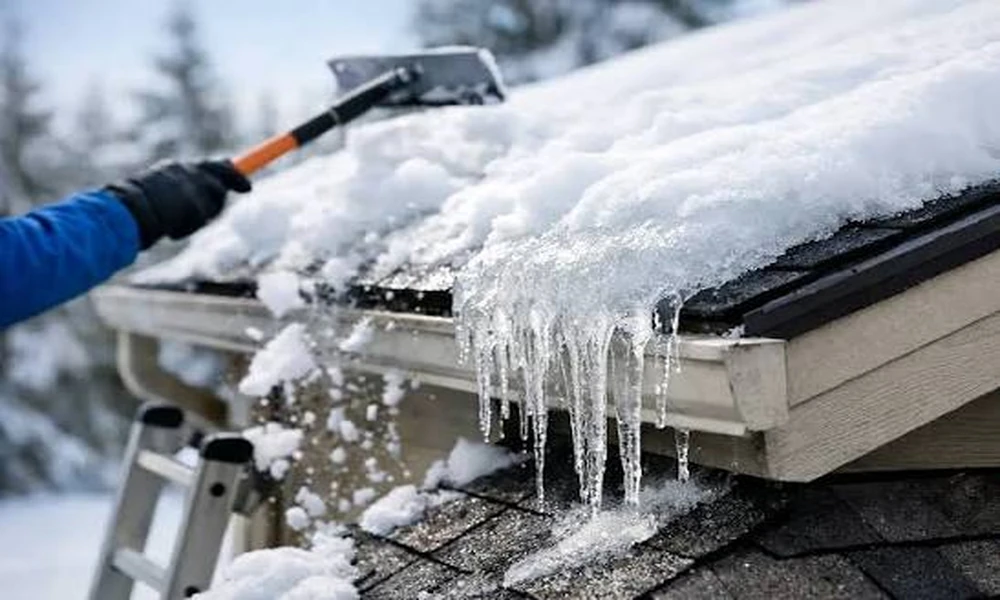
Those long icicles hanging from the eaves look picturesque, but they are often a sign that something is wrong overhead. Ice dams cause thousands of dollars in water damage every winter, and most homeowners never see them coming. A trusted roofing company in Janesville will tell you the same thing: ice dams are rarely a shingle problem. They are a heat problem that shows up on the roof. Here is how they form, how to spot them, and how to stop them for good.
The Chain Reaction Behind an Ice Dam
An ice dam develops in a simple sequence:
- Snow builds up on the roof after a storm.
- Heat escapes from the living space into the attic and warms the roof deck from below, or the sun warms the upper roof.
- The snow melts on the warmer part of the roof, and water runs downhill.
- The water reaches the cold eave, which sits past the heated wall line and stays below freezing.
- It refreezes, and the ice slowly grows into a ridge.
- New meltwater backs up behind that ridge, seeps under the shingles, and leaks into the home.
The Wisconsin Historical Society explains it this way: ice damming occurs when the temperature at your roof eave is very different from the temperature at the peak, and the dam traps water and forces it back up and underneath the shingles, where it can leak into your wall cavities. In other words, the problem begins with uneven roof temperature, not just cold weather.
Signs You May Have an Ice Dam
Watch for these clues during and after winter storms:
- A thick ridge of ice along the eaves or in valleys
- Large icicles clustered in one area
- Water stains or bubbling paint on ceilings near exterior walls
- Dripping from window frames or light fixtures
- Damp, compressed insulation in the attic
- Frost or condensation on the underside of the roof deck
- Gutters pulling away from the house under ice weight
If you notice interior stains after a thaw, call a professional promptly. Water that sits inside a wall or ceiling can lead to mold and rot.
What Makes Some Homes More Likely to Get Them
Certain features raise the risk:
- Attic floors with thin or uneven insulation
- Gaps around attic hatches, recessed lights, and plumbing or wiring penetrations
- Bathroom or kitchen exhaust fans that vent into the attic instead of outdoors
- Poorly balanced ventilation, such as soffit vents blocked by insulation
- Complex rooflines with many valleys and dormers where snow collects
- Cathedral ceilings with little room for insulation and airflow
The Permanent Fix: Keep the Roof Cold
The goal is a roof deck that stays close to the outdoor temperature from eave to ridge. According to the Wisconsin Historical Society, you can do that in two key ways: provide adequate attic ventilation, and make sure the attic is properly insulated. Let’s break those down.
Ventilation
Ventilation brings cold air in low and lets warm, moist air out high. A balanced system uses intake vents at the soffit and exhaust vents at or near the ridge. The Wisconsin Historical Society gives a useful rule of thumb: provide one square foot of net free ventilation for every 150 square feet of attic floor space, split evenly between the soffit and the roof. The same guide suggests installing ventilation chutes between the rafters so loose insulation does not clog the soffit vents.
Air Sealing and Insulation
Before adding insulation, seal the leaks that let warm air rise into the attic. Common trouble spots include:
- Attic hatches and pull-down stairs
- Top plates of interior walls
- Openings around chimneys, flues, and ductwork
- Recessed lighting fixtures
- Plumbing stacks and wire holes
Once the air leaks are sealed, add insulation to the recommended depth for your area. Together, sealing and insulation reduce the heat reaching the roof deck, which means less melting and less refreezing.
Roofing Details That Add Protection
A professional roofer can also install protective layers during a roof replacement or repair:
- Ice and water barrier membrane along the eaves and in valleys to block water that backs up under shingles
- Properly installed flashing at chimneys, skylights, and wall intersections
- Drip edge that guides water into the gutters
- Continuous ridge and soffit vents for even airflow
These features do not replace insulation and ventilation, but they give the roof a second line of defense.
Short Term Steps When Ice Is Already There
If you see an ice dam forming, a few careful actions can limit the damage:
- Use a long-handled roof rake from the ground to clear snow from the first few feet above the eaves.
- Keep gutters and downspouts as clear as possible before heavy snowfall.
- Never chip at ice with a hammer, axe, or shovel. It is easy to damage shingles, and falls are dangerous.
- Avoid climbing onto a snowy or icy roof.
- Call a roofer if you see active leaks, since professionals have safe methods for removing ice.
For stubborn cases, the same Wisconsin Historical Society guide notes that you can hire a roofer to install electric heating cables, with an electrician wiring them, to help melt ice at the eave. Treat cables as a last resort, not a replacement for fixing the attic.
A Fall Checklist to Get Ahead of Winter
Do these before the first heavy snow:
- Clean the gutters and downspouts.
- Inspect shingles for cracks, curling, or missing pieces.
- Check flashing around chimneys and vents.
- Peek into the attic for compressed insulation, dark stains, or blocked soffit vents.
- Confirm that exhaust fans vent outdoors.
- Trim branches that hang over the roof.
- Schedule a professional inspection if the roof is older or has had past leaks.
When to Call a Professional
Bring in an experienced roofer if you notice any of these:
- Repeated ice dams in the same spot year after year
- Ceiling stains that return after drying
- Shingles that lift or tear after winter
- An attic that feels warm in the middle of winter
- A roof that is near the end of its lifespan
A thorough inspection looks at the entire system, including shingles, flashing, ventilation, and the attic itself, not just the part you can see from the ground.
Final Thoughts
Ice dams are a winter nuisance with a very fixable cause. Keep the heat in the living space, keep the roof cold, and keep the water moving off the edge. Do that, and your roof can handle even the harshest cold snap without letting a drop inside.